How to run Splunk in a Docker container in 10 minutes

Splunk Enterprise is a leading product for IT where Administrators, Security Operations, and Developers can send data from almost anywhere into a real-time analytics pipeline to correlate and diagnose events.
If you are like me and you want to try Splunk out to get a feel for the search before committing to sending all your data over, this guide goes through running Splunk Enterprise in a Docker container.
In the next post, I'll go over how to send data to Splunk with the powerful Fluentd Enterprise.
Pre-requisites
To try out Splunk, you are going to need the following
- A Virtual Machine capable of running the latest Docker Engine [I am going to use an Amazon AMI instance]
Walkthrough
Let's get started, I am hoping you already have a provisioned Amazon AMI instance, but in the case you do not or do not know how - here are some good docs
My Amazon AMI Instance is a t2.small which has 1 vCPU and 2 GiB of Memory.
Installing the Docker Engine on an Amazon EC2 instance
Amazon AMI instances already have Docker bits in their hosted repos, so all we have to do to install docker is run a yum install. If you have an older Amazon EC2 instance you should also run a yum update to ensure you are grabbing the latest.
sudo yum install -y docker
This command installs the docker daemon and the Docker engine on your Amazon AMI instance. To check if Docker is installed run the following command. Depending on when you read this blog, the output can be different based on the current version.
$> sudo docker -v
Docker version 17.03.1-ce, build 7392c3b/17.03.1-ce
Additionally, let's run the docker start command to ensure that the Docker engine is running.
$> sudo service docker start
Starting cgconfig service: [  OK  ]
Starting docker:           [  OK  ]
Running Splunk Enterprise
Now that we have Docker installed let's go ahead and run the Splunk server in a container. Thankfully, the Splunk team has some great documentation on how to do this found here
We are going to run the following command
$> sudo docker run --name splunk --hostname splunk -p 8000:8000 -p 10000:10000 -d -e "SPLUNK_START_ARGS=--accept-license" -v /opt/splunk/etc:/opt/splunk/etc -v /opt/splunk/var:/opt/splunk/var splunk/splunk:6.6.1
An explanation of each parameter/option is below
--namespecifies the name of the container that Docker recognizes--hostnameis the internal name used by the container-p 8000:8000binds the port 8000 of the internal running container to the external 8000 port of the Amazon AMI VM. This port is for the Splunk Management GUI.-p 10000:10000does the same as above. This port is when we use Fluentd Enterprise to forward messages over TCP.-dAllows the container to run as a background process-e "SPLUNK_START_ARGS=--accept-licenseThis is a command that allows the license to be accepted.-vmounts the container volumes with the Amazon AMI VM's file paths.splunk/splunk:6.6.1is the Docker Image to run
A couple notes if you run into issues
- Make sure you have
sudoor are running the command as a privileged user - If you have something that exists under
/opt/splunkyou may receive an error of a pre-existing installation.
Logging into the Splunk Management console
Now that the Splunk container is running, we can use our web browser to access the Splunk management console.Note: We need to have proper privileges in the Amazon EC2 Inbound rules to open up the console. This can be done by going to the EC2 Management Console > Clicking the AMI Instance > selecting view Inbound Rules
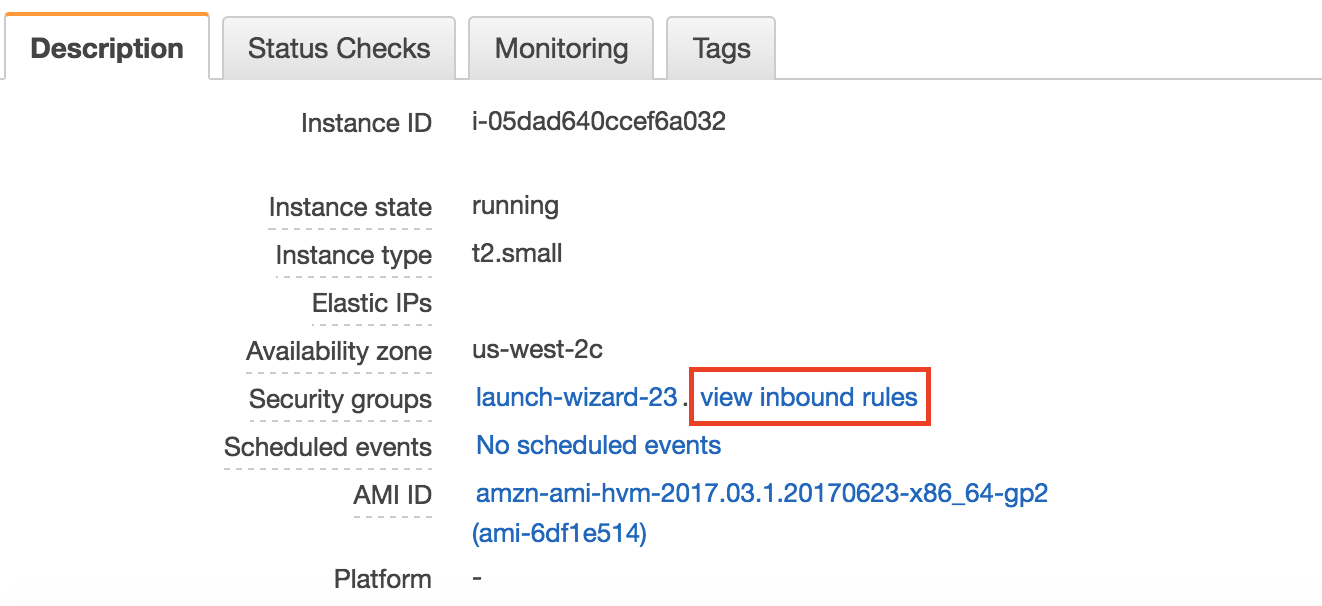
If inbound rules are not properly set than you can use the Security Group hyperlink to edit inbound rules.
- Navigate to the management console by entering in the IP Address of the VM with the port 8000. for example: http://localhost:8000
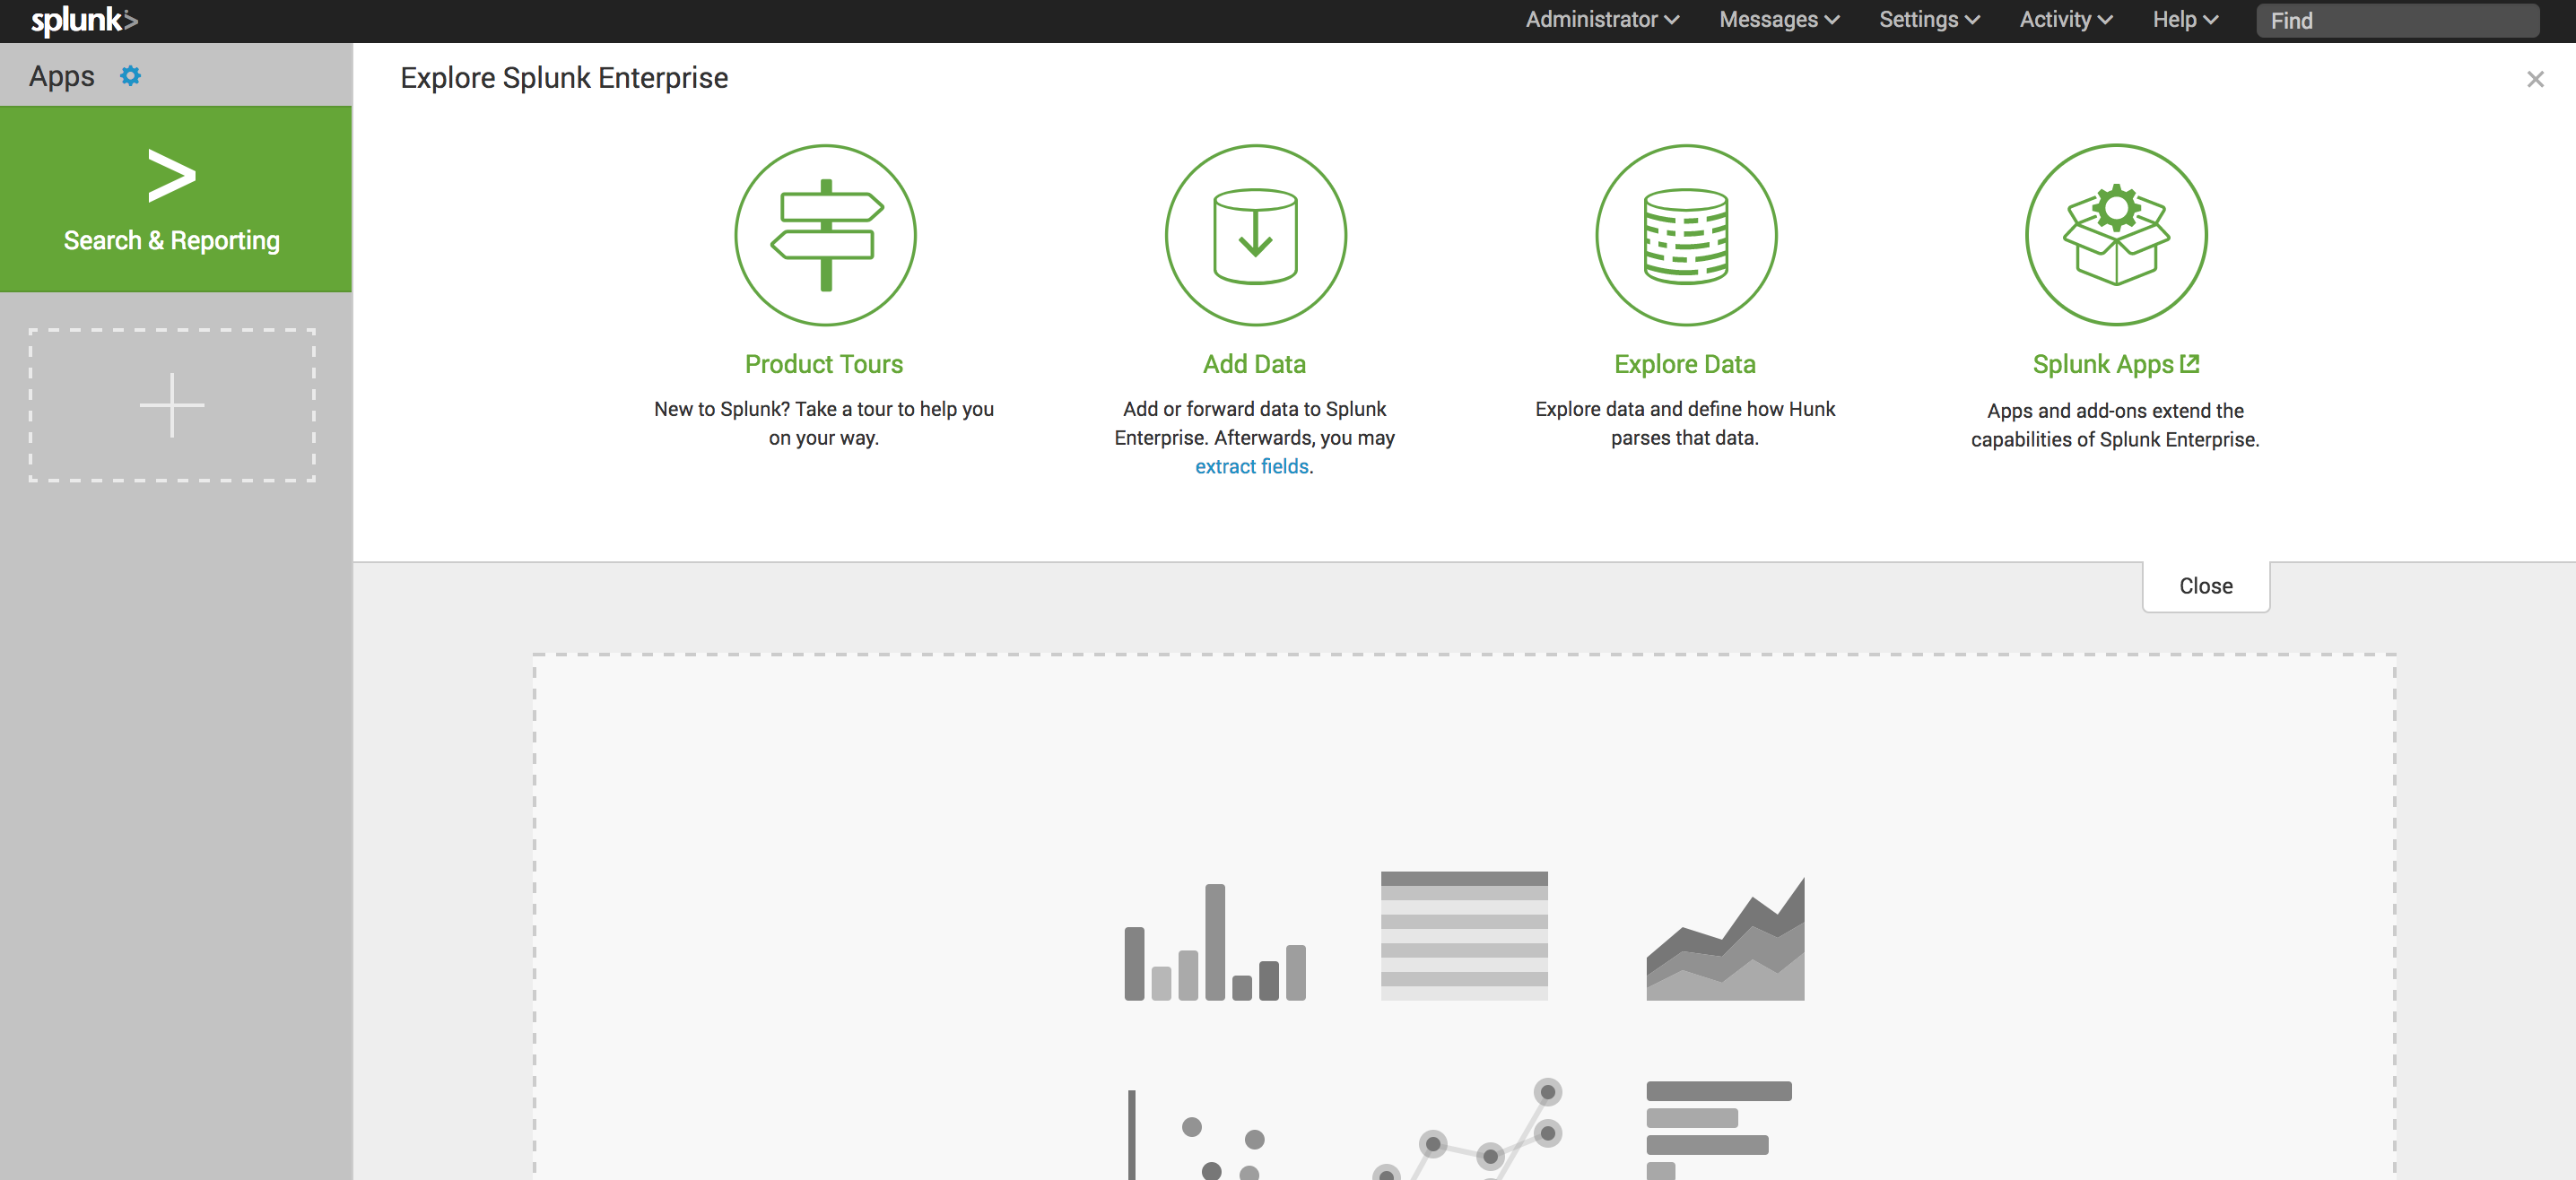
- You should be greeted with the following screen

- Enter in
adminas the username andchangemeas the password
- You can change the password on the next screen if you wish
- Now that you are on the main screen you can start to explore Splunk!
-
if you get any messages about having low space you can modify the space limits under Settings > Server Settings > General Settings > Pause indexing
-
if you recieve messages about an outdated version, you can also change the
docker runcommand to point to thesplunk/splunk:latestimage instead.
That's it you now have Splunk running in a Container ready for you to explore.